A few months ago I promised to put up the tutorial for the jersey onesie dress that my mom showed me how to do, and I'm finally doing it. Every time I went to JoAnns I would look at their jersey to see if there was anything I liked and there never was. So when I was going through my closet getting rid of some shirts that were either too small or too young for me, I decided to keep a few of them for jersey projects! Best idea ever!
Materials:
A onesie
Some jersey fabric (you'll need an 18 inch square for the skirt and a 5 x 8 inch rectangle for the embellishment).
Step 1: Cut your jersey to size: an 18 inch square. I cut mine out of a t-shirt, so I'll show you how I did it, but it's pretty easy.
Make a vertical cut 9 inches from the edge, and cut off the bottom. I didn't show this part, but also cut off the top so that it measures 18 in from top to bottom.
Now you can fold your rectangle you have into a 9 x 9 in square.
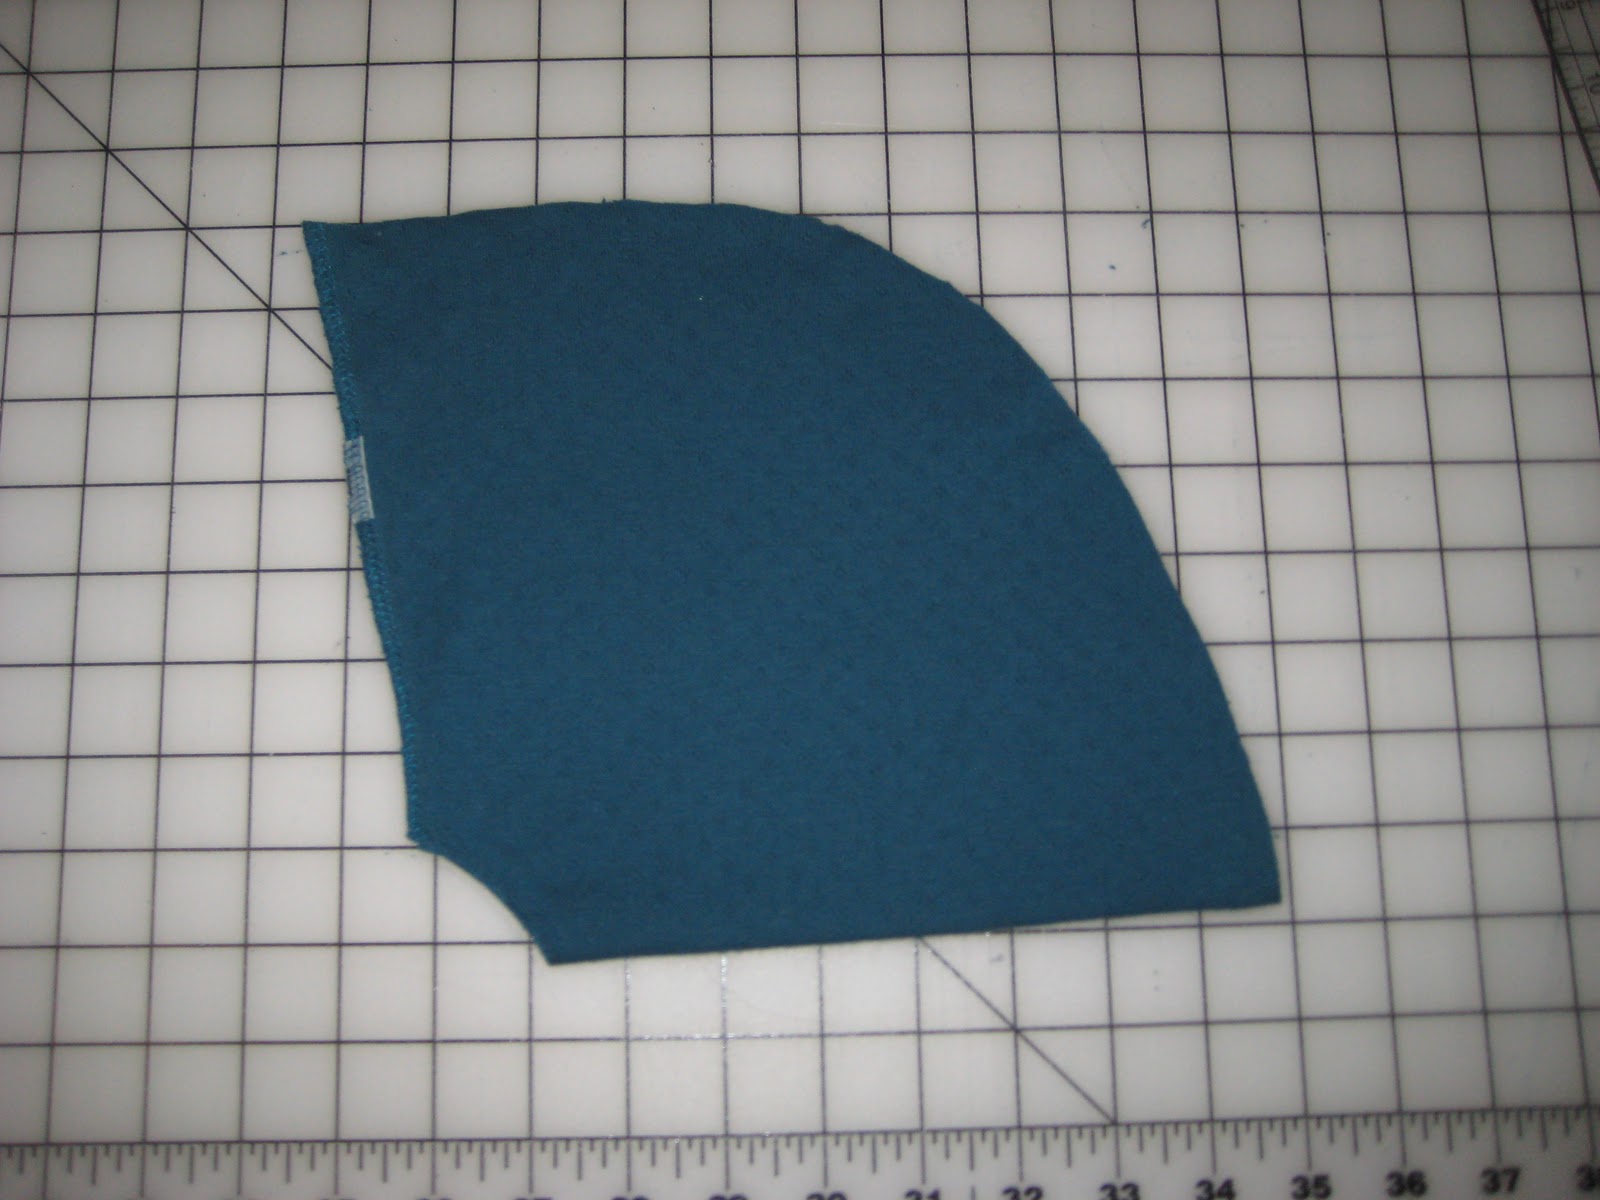
Step 2: You're going to make two cuts in this step. The first cut you should make is along the two sides that are all the way open, meaning you can see all four layers. Make a nice curve from one corner to the opposite corner. The second cut you're going to make is on the corner that is most folded up, this will be across from the large curve you just made. You're going to want to make a small curved cut (start smaller than you might think, you can always cut more if you need to).
This is how you're going to check to see if your little curved cut is the right size. Open up your folded up square one time like so.
Bend the sides down so they make a straight line.
Place your onesie on top to see if the line of the jersey skirt is the same size as the waist on your onesie. If it is move on to the next step, if not, fold it back into that square and cut off a little more.
Step 3: This part is the same as the other onesie dresses. Make sure your skirt is inside out and lay it out on the table in front of you. Slide the head of the onesie down through the skirt to the waist. (If you want you can mark the waist on the onesie both on the inside and the outside before you do this part so that everything lines up just right. I didn't because I've made a bunch of them, so now I just kind of wing it.)
Step 4: Fold down the bottom of the onesie around the top of the skirt. Pin in place and sew all the way around. Give yourself enough of a seam so that you're sure you got the skirt.
Step 5: Flip the skirt down and you're done! If you think the dress looks a little plain, add some embellishment!
Tuxedo Ruffles from Sutton Grace (my favorite blog I follow). I used her tutorial posted
here !
Step 1: Cut five 1 inch strips of fabric out of jersey. One 8 in long, two 6 in long, and two 5 in long.
Step 2: Use a basting stitch and sew a straight line all the way down the middle of each strip. Pull on the threads to gather them up. Lay them out on the table in the order they are going to go onto the onesie: short, medium, long, medium, short (5" 6" 8" 6" 5")
Step 3: This is the hardest part of the ruffles. Take the longest ruffle and place in face down on the center of the onesie neckline. You want to put it about 1/4" below the edge of the bound neckline and pin it in place. Then on both sides of the longest ruffle you're going to pin on the medium ruffles in the same manner, and then pin on the short ruffles on the ends. Now sew along the edge of the lined up ruffles just under the top bound edge of the onesie. (This is going to be right along where you see the pin heads in this picture.)
Step 4: Now you can flop the ruffles down. Take the middle ruffle and pin it down the center of the onesie. Sew a straight line down the center of the ruffle (this will most likely go right over your basting stitch on each ruffle). Repeat with each ruffle.
You're done! Doesn't it look cute and more like a finished project with the embellished neckline?! I can't wait to try out some of Erin's other embellishments.
Here's Ada sporting her cutie new dress. Looking good baby!


No comments:
Post a Comment