This week I made a reversible drawstring bag for my fat quarter Friday project. I used this tutorial from Just Because I am Me, um freaking cute! Don't be turned off by how long the tutorial is, this project actually goes super quick, I just included a lot of pictures!


Step 1: Trim up your fat quarters so they are 20" x 17" each.


For the other fabric, you will do essentially the same thing, start sewing 3" down from the hemmed top, but you will not go all the way to the end, you want to leave a 3" opening on the bottom for turning later on.


Starting in the middle, iron open the seam. As you come down to the hemmed edge, you'll have some raw open edges, iron them down with the same seam allowance as the rest of the seam.


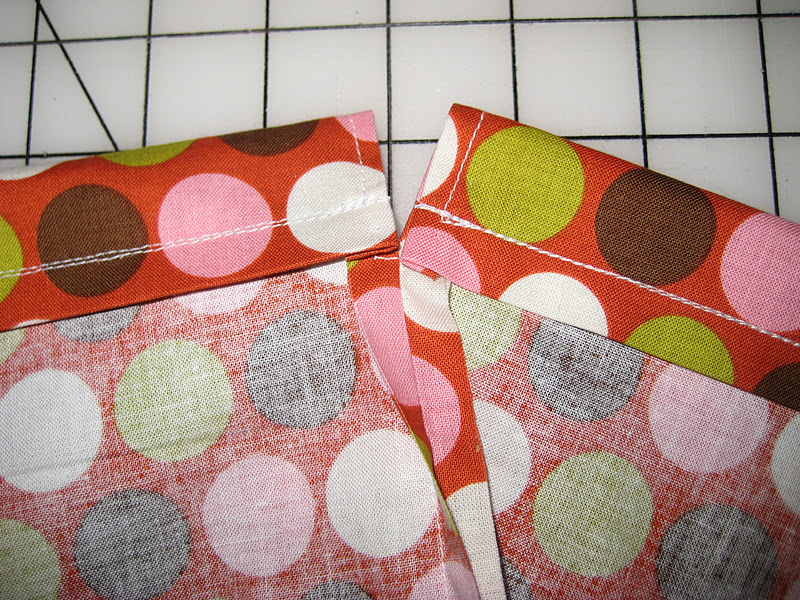
You should get a nice V shape. Make sure to do this to both fabrics.


Fold over the rest of the top edge to match up with the V section that you just pinned down. Make sure that it's the same length all the way around, then put a couple more pins in it.


Sew around the top following your same seam from before. Repeat with the other fabric as well.
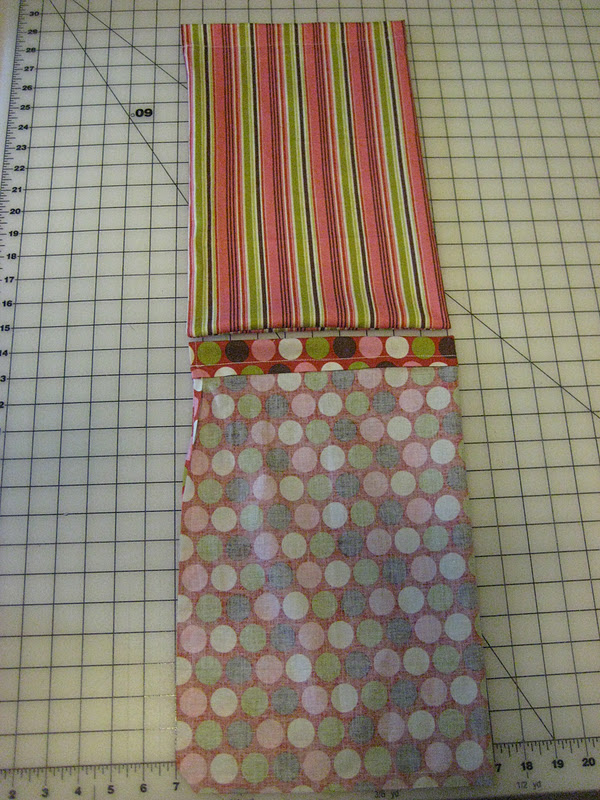
Slip the top fabric inside the bottom fabric. So now you have a bag in a bag and you should only be able to see the wrong sides of both of them.


Attach a safety pin onto one of the edges of ribbon and thread it through one of the openings at the top in the V section. This part is a little weird, one of the ribbons goes into the loop made by the lining fabric, and the other ribbon goes through the loop made by the outer fabric. There is also a little loopy area between the two that we don't use.


Either tie or sew your ends of the same ribbon together. If using ribbon, I recommend sewing so that it doesn't come undone. Thread this tied part into the bag so that we don't have to see it.

You're done! You can leave them quite simple like so,


or your can turn down the tops before you sinch them so that you get to see the two colors, super cute!!!
No comments:
Post a Comment