This week I made a cutie reversible purse for a little girl.
Materials:
2 Fat Quarters
Fusible interfacing
4 buttons
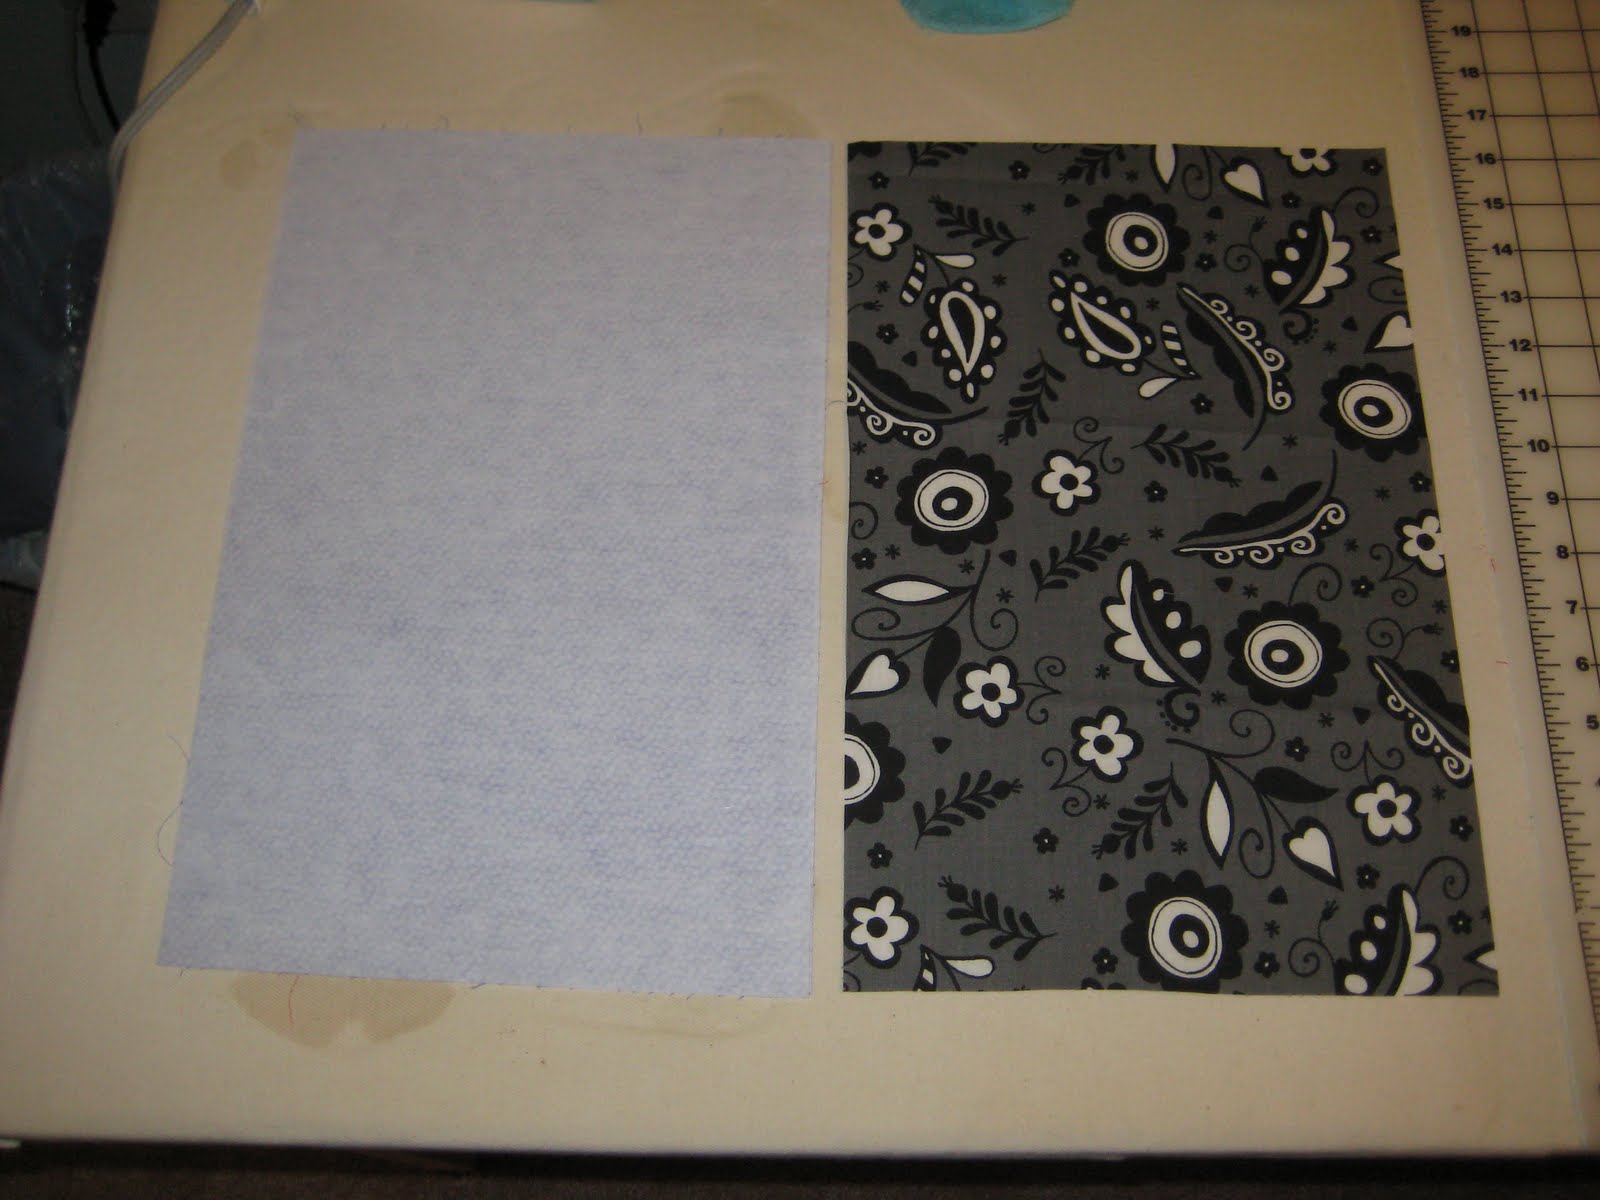
Step 1: Cut your two fat quarters and a piece of fusible interfacing to 10" x 15.5". Iron on the interfacing to the wrong side of one of your fabrics.
Step 2: Hem 1/4" around both fabrics. I only folded the hem under one time for this project because you won't be able to ever see the hem. Then place your fabric right side up and fold it hamburger style up 6". Sew the folded sides and trim off some of the extra bulk. Do this with both fabrics.
Step 3: Turn the fabric without the interfacing right side out, but leave the fabric with the interfacing wrong side out. Position your interfacing fabric above the other fabric and slide it into the second fabric.
Step 4: Now you can see that it's starting to look like something. You're going to want to pin all around the openings where the two fabrics come together. Don't sew it yet though, we've got to made and add the strap first!
Step 5: We're going to make the strap now. I decided to make one long strap, but you could make short handles instead if you wanted. I cut two 2" x 18" pieces from each of the two fabrics. Put them right sides together to make two long strands of each fabric. Now put the two different fabrics right sides together and sew along both of the long edges. Turn, iron, and top stitch along the two long sides.
Step 6: At this point you can kind of crunch up the ends of the strap so that they are a little smaller and have a cute little fold in them. Iron the ends once they look how you want them to. I also sewed a quick little line across the bottom to ensure that they would stay how I wanted them.
Step 7: Tuck the ends of your strap into the space between the two fabrics on your purse and pin in place. Now you're going to sew all around the openings where the two fabrics meet. Make sure that your fabrics match up so that you don't see any weird overlapping.
Step 8: Make two button holes on the flap of the purse. Close the flap and mark where the button holes hit on the body of the purse. You're going to be putting on two buttons at the same time, four total. Your purse will have buttons on each side of the purse, so when you're sewing them on you're making kind of a button sandwich: button-fabric-button. Don't pull to tight when you're sewing the buttons on because you'll need some wiggle room between everything. Also, you should wrap some thread around the back side of each of the buttons so that it stands out a bit from the fabric. This will make them easier to use.
You're all done! It's pretty cute and was very easy to make! I can just picture a little 5 year old running around with this on putting all sorts of goodies inside! Now what to do with it since I don't have a 5 year old?


Cool
ReplyDelete