This week I made a cute little fabric flower. Although this craft is quick and easy to make, it took me about 3 days to complete it. Apparently having a baby makes crafting much more difficult (My last two Fat Quarter Fridays were done prior to having Ada). I was looking for inspiration for this fabric flower last week and found a tutorial that I based this off of, but when I went looking for it again I couldn't find it. I'm not one of those people who knows how to check their internet history, so sorry I can't give credit to the blog I designed my flower from.
Materials:
1 Fat Quarter
Needle and Thread
1 or 2 Buttons
Step 1: Find two circles from around the house that you can trace. My two circles were about 4 in and 3.5 in in diameter. Trace and cut out 4 large and 3 small circles. I know I have 5 large in the picture, but I only ended up using 4. Once they're cut out, iron them in half and cut them down the middle.
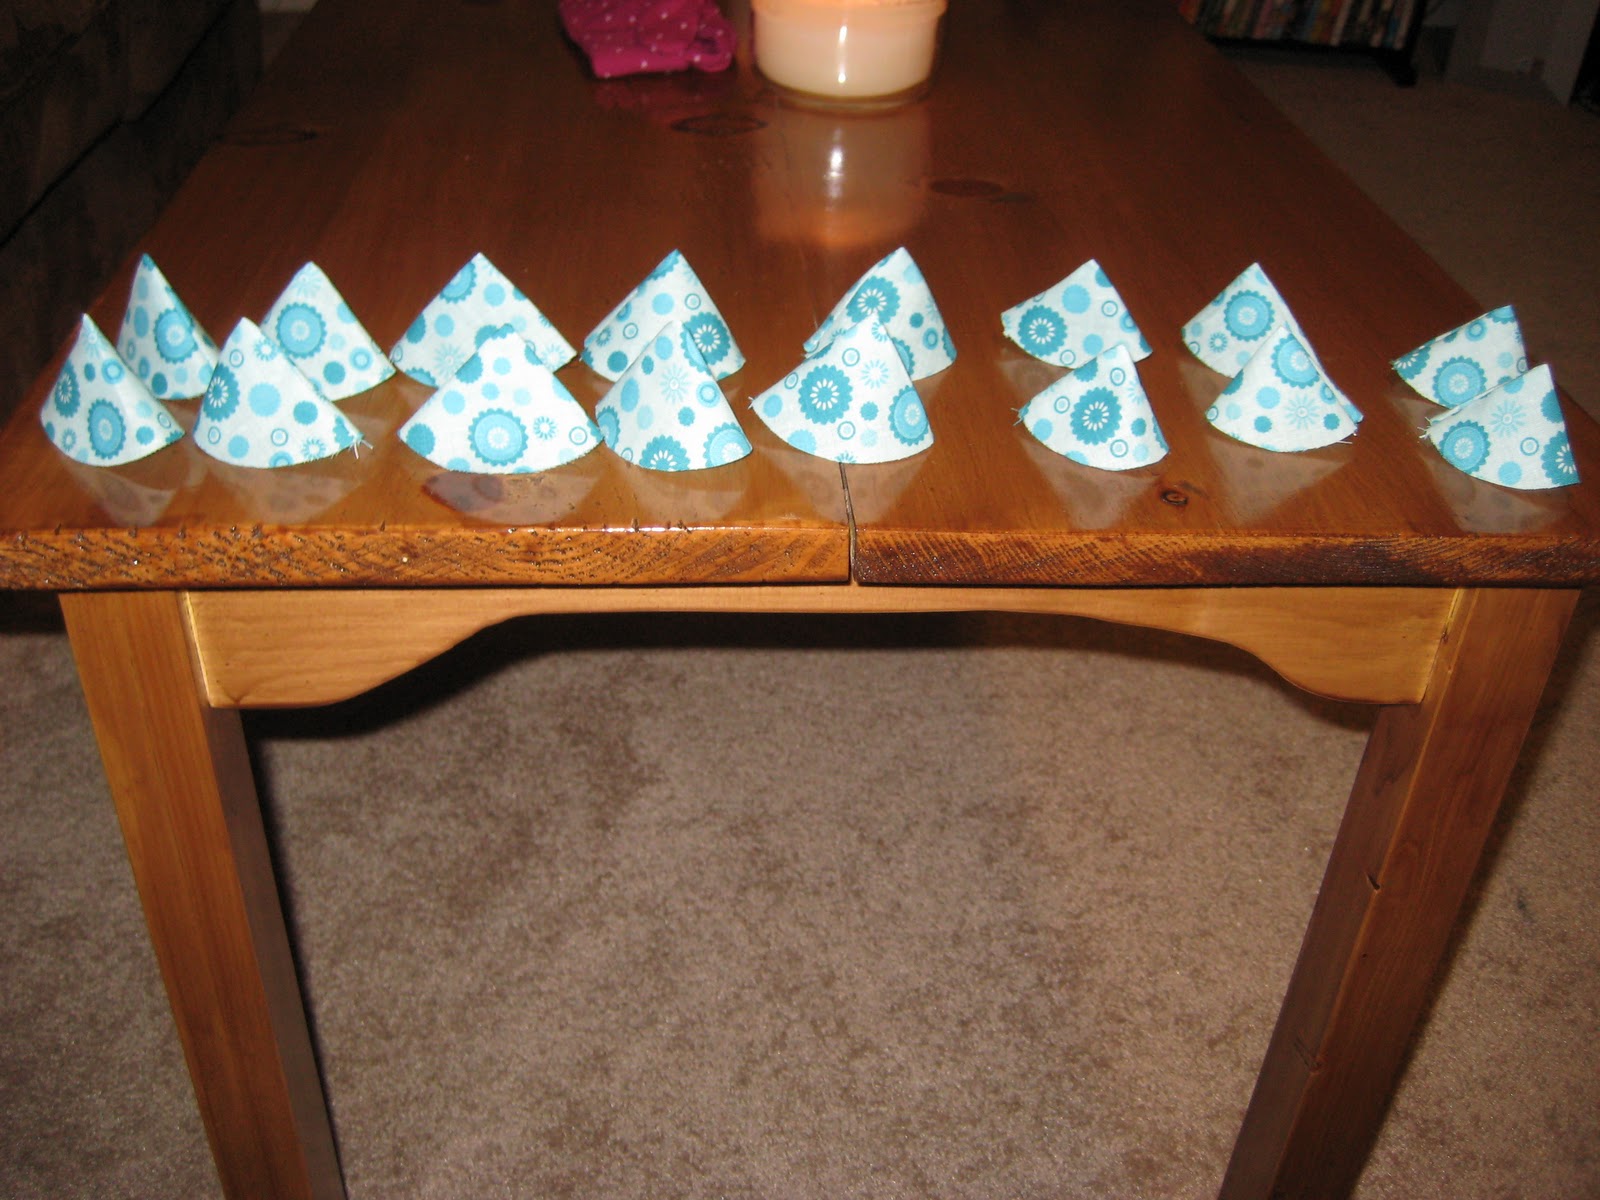
Step 2: Take each little half circle and fold it right sides together and sew along the open straight edge (leave the curved edge open). Do this for all of the little half circles. You'll then have a bunch of little pizza slice looking thing. Use a pencil to help you turn them right side out.
Step 3: Now I didn't get a good picture of this step because I can't figure out how to take a close up picture with my camera, so I'll try to explain it really clearly. Take one of the little triangles (keep your larger and smaller triangles separate) flatten it out so that the seam is on one side and the curved edge is facing you. Now take a needle and thread and hand sew and running stitch along the curved edge of the triangle. Once you've got to the end, pull on the thread so that the fabric gets a little scrunched up. This is your first little petal. Continue adding petals onto the same string until all the triangles of the same size are one the thread. When all the petals are on, scrunch them up as much or as little as you want, and circle the petals around until the first and last petals meet. Go through the first petal with the needle and thread and secure it so that the scrunched petals don't come loose. Tie it off and you have your first part of the flower. Do the exact same thing with the other size triangles. You should now have two rings of petals, one bigger (with 8 petals) and one smaller (with 6 petals).

Set the smaller ring of petals on top of the larger ring and secure it in place by making a couple of stitches connecting them. It should really start looking like a flower now!
Step 5: Cut out a small circle (about 2 in in diameter). I used the same fabric from the flower, but a felt circle would work really well here so that you don't have to turn under the edges. Turn your flower over so that the back of the big flower ring is all you see. Place the little circle over the hole in the middle and sew it on (making sure you turn under the edges as you go). I just used the same stitch and technique that I use for applique which is to take little bites of the top fabric and larger bite of the bottom fabric, that way you don't see much if any of the thread. The picture of this is pretty lame, but again, I don't know how to use my camera very well.
Step 6: To cover up the hole on the top of the flower I decided to put a couple buttons over it. I was initially only going to use one button, but I thought that the two buttons looked cute layered together. Just sew on the button as you normally would sew on a button, and voila, you have a cute little flower!
I haven't decided what I should do with this flower now that I have it. I was thinking about making a few more and attaching them to a purse, or something. I want to make a smaller one and attach it two a onesie for Ada, cuteness!


No comments:
Post a Comment